
Viewpoint School has chosen Zoom as our audio and video conferencing solution. At Viewpoint, our Zoom Rooms leverage Zoom technology and are designed based on standard configurations with the goal of simplicity and flexibility for both on-premise and remote meeting attendees.
Zoom Rooms are connected to Microsoft Exchange and are configured as a room resource. They function similar to a shared calendar that multiple users can preview.
The process for booking a Zoom room is similar to booking any other meeting in Outlook, with the exception that you will add the room as one of the recipients. Below is a step-by-step guide on how to schedule Zoom meetings, including those with or without a Zoom room.
Preparation Installations (one time only)
Sign Into Zoom
- Launch Zoom Client.
- Select Sign In.
- Select "Sign In with Google".

- Chrome will open and will direct you to a sign-in page. If you are already signed into Chrome using your Viewpoint credentials, they will already be filled in for you.
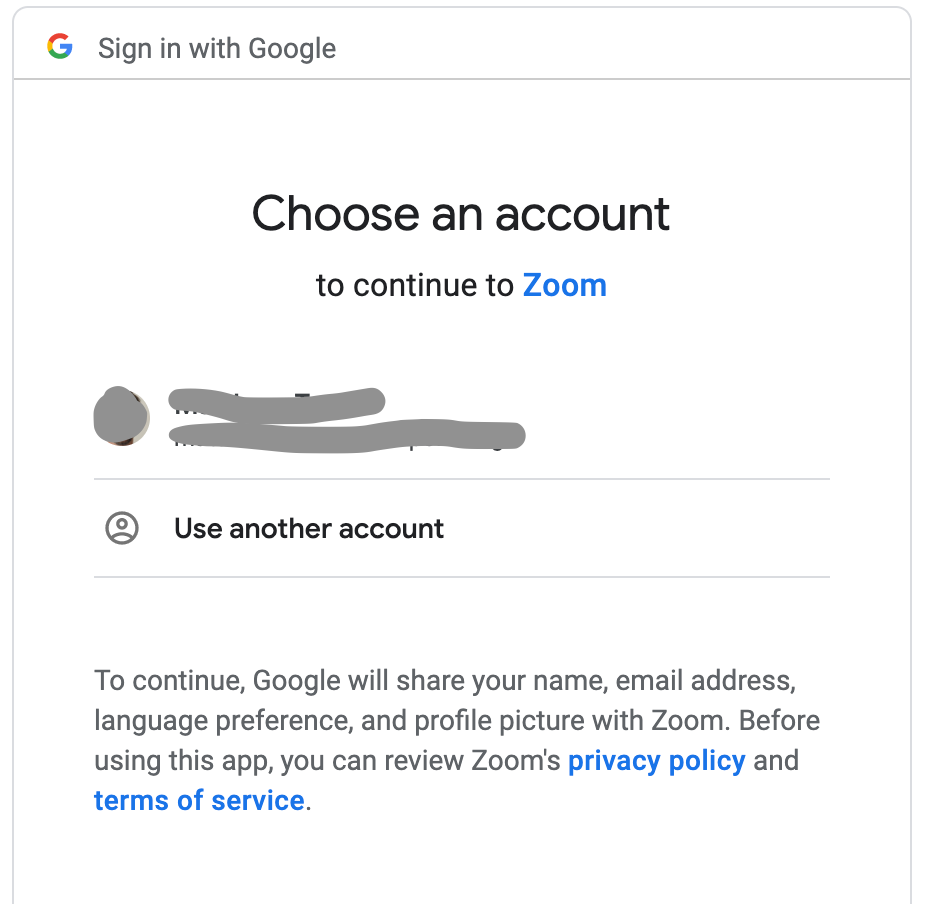
Click on your account or enter your Viewpoint email address and password. - You will see a brief "connecting..." loading page, after which Zoom Client should open automatically. If sign-in is NOT successful, please reach out to the IT department and request that your account be added to our Zoom admin portal. Do not proceed further until you are able to sign in under your personal credentials.
- Launch Outlook and ensure the Zoom plugin loads into the toolbar ribbon. You should now see the Zoom shortcut icon:
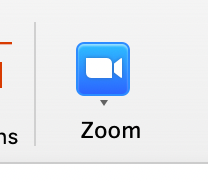
Click on the icon to ensure you are signed in.
Create the Meeting Request
- Click on the Zoom icon in Outlook. You will prompted with a dialogue box for you to set any preferences for this meeting.
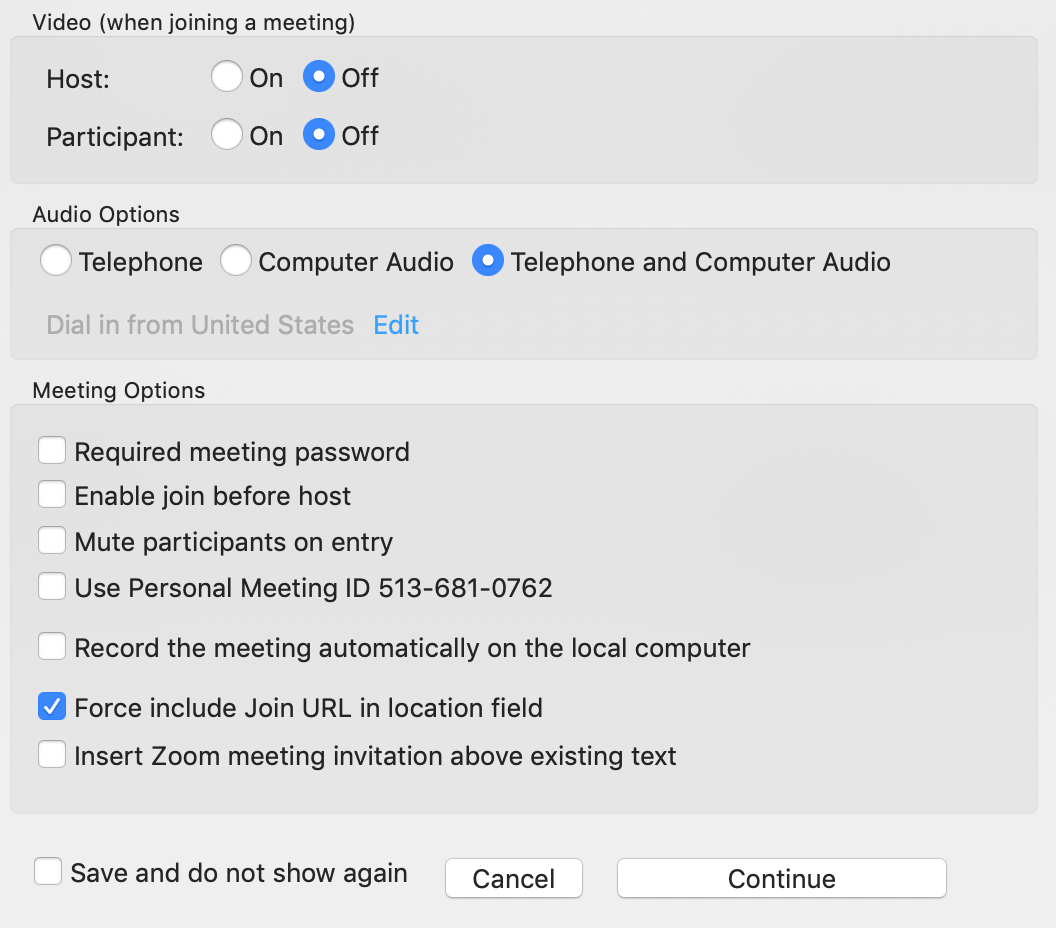
In most cases, you can go with the defaults and select "Continue." In some cases, you may wish to enable the option, "Enable join before host." This allows attendees to connect to the meeting regardless of when (or if) the host joins. - The Zoom client will automatically connect to Zoom and create an online meeting and session number. This will appear like any other meeting appointment in your calendar.
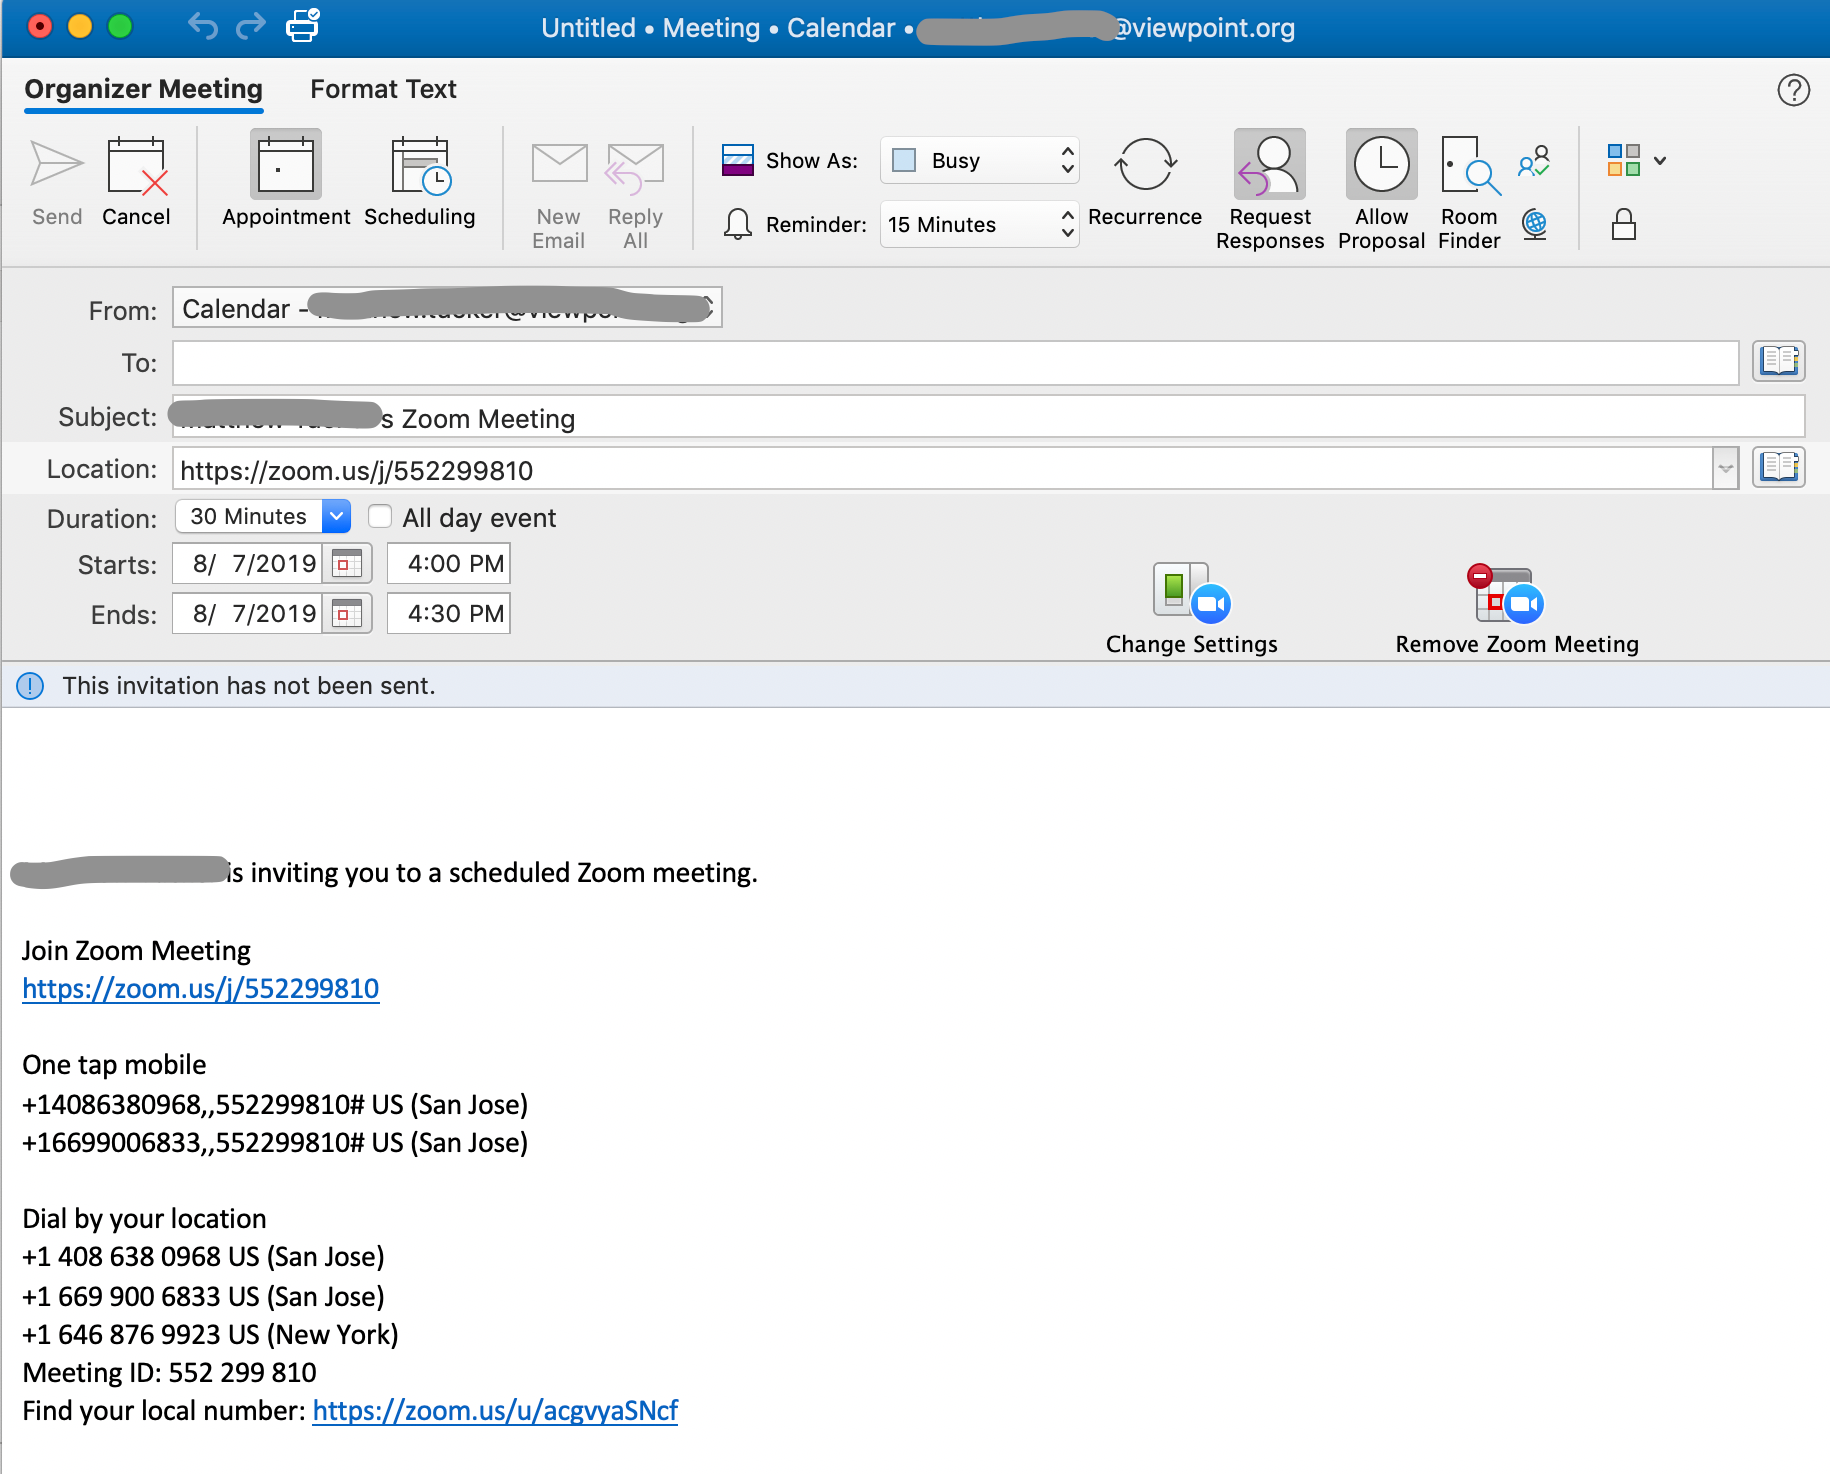
You may wish to edit the subject line and edit the physical location if applicable. In the appointment notes field, you will find the following items:
- URL / link to the Zoom meeting; clicking on this link from a computer will launch the Zoom client and connect you to the meeting.
- "one tap mobile" dial-in numbers, especially formatted for smartphones; click on a number and you'll be automatically connected into the meeting over your cell voice connection.
- additional call-in numbers and the meeting ID. - Add recipients to the meeting into the To: field.
Zoom Room Meetings
- If the meeting will be held in a Zoom Room, add the room resource into the same list of recipients. All conference room resources are named using the convention "Conference Room: Description/Room Number". To see a full list of rooms and their availability, select the "Room Finder" button.
In the room selection pane, select the room list "Conference Rooms."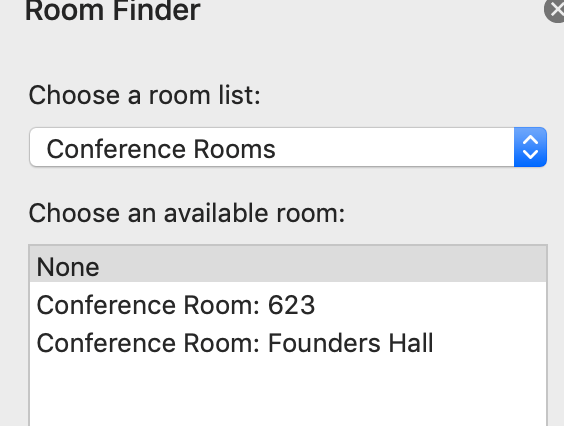
This will show you availability for all conference rooms on that given date and time.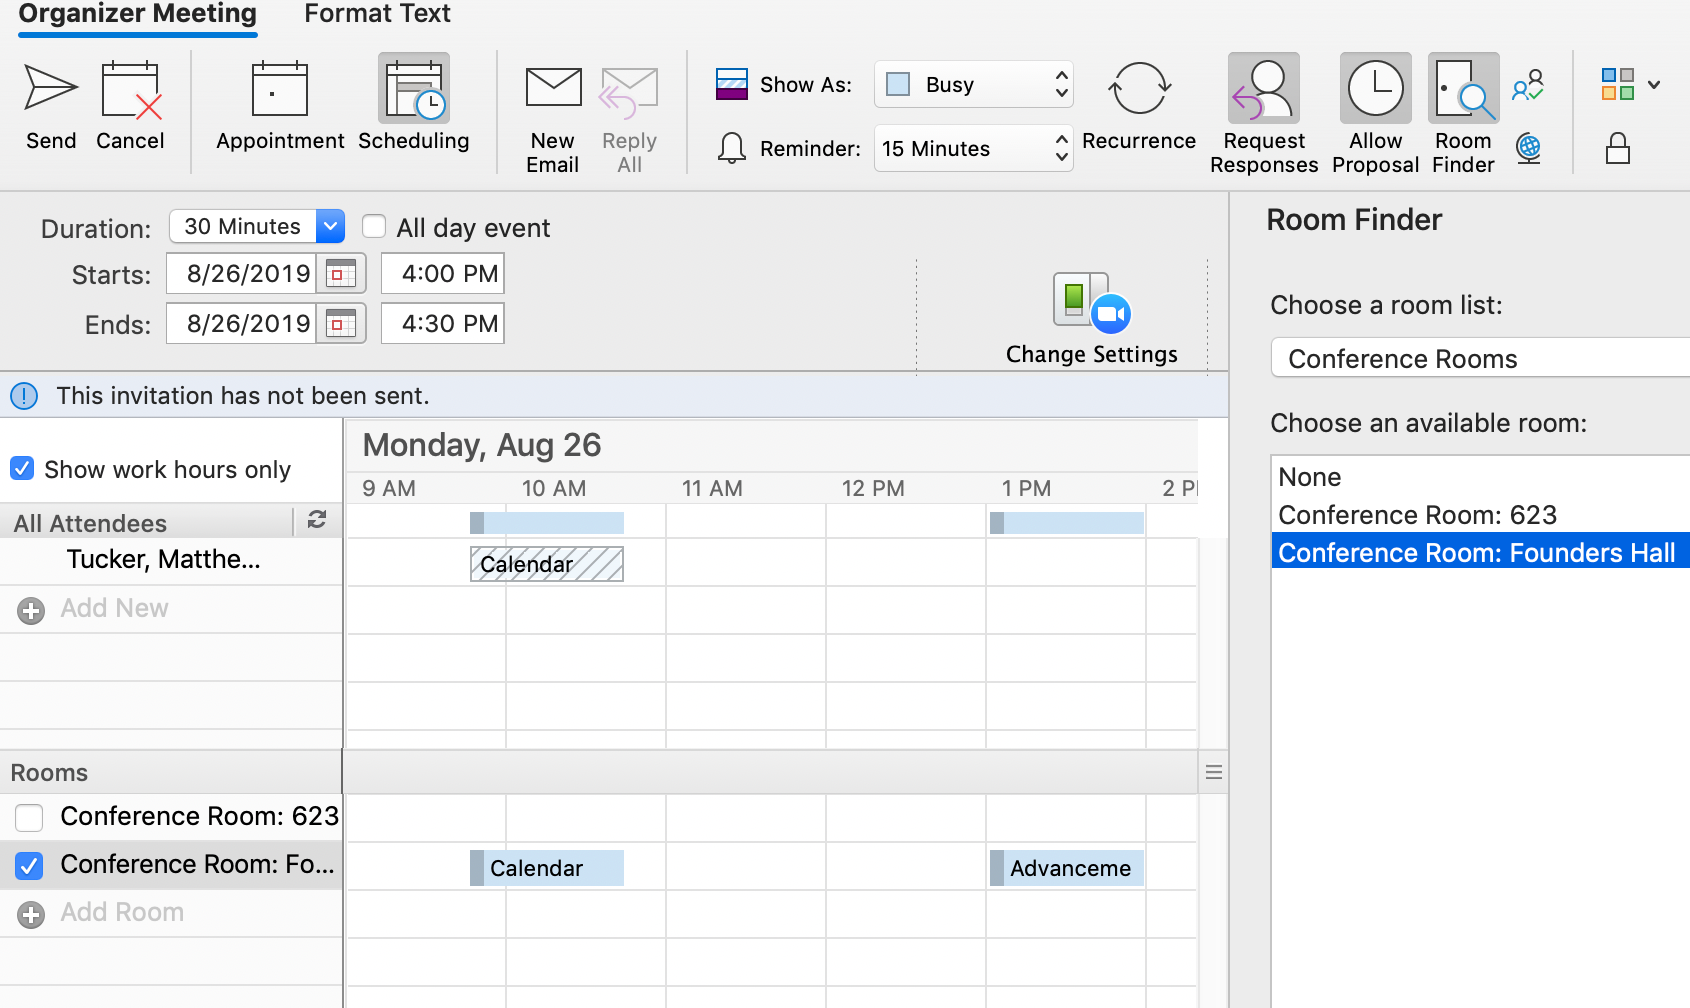
Once the appropriate Zoom Room has been selected, it will be added to the list of Recipients and the time will be blocked out in the schedule.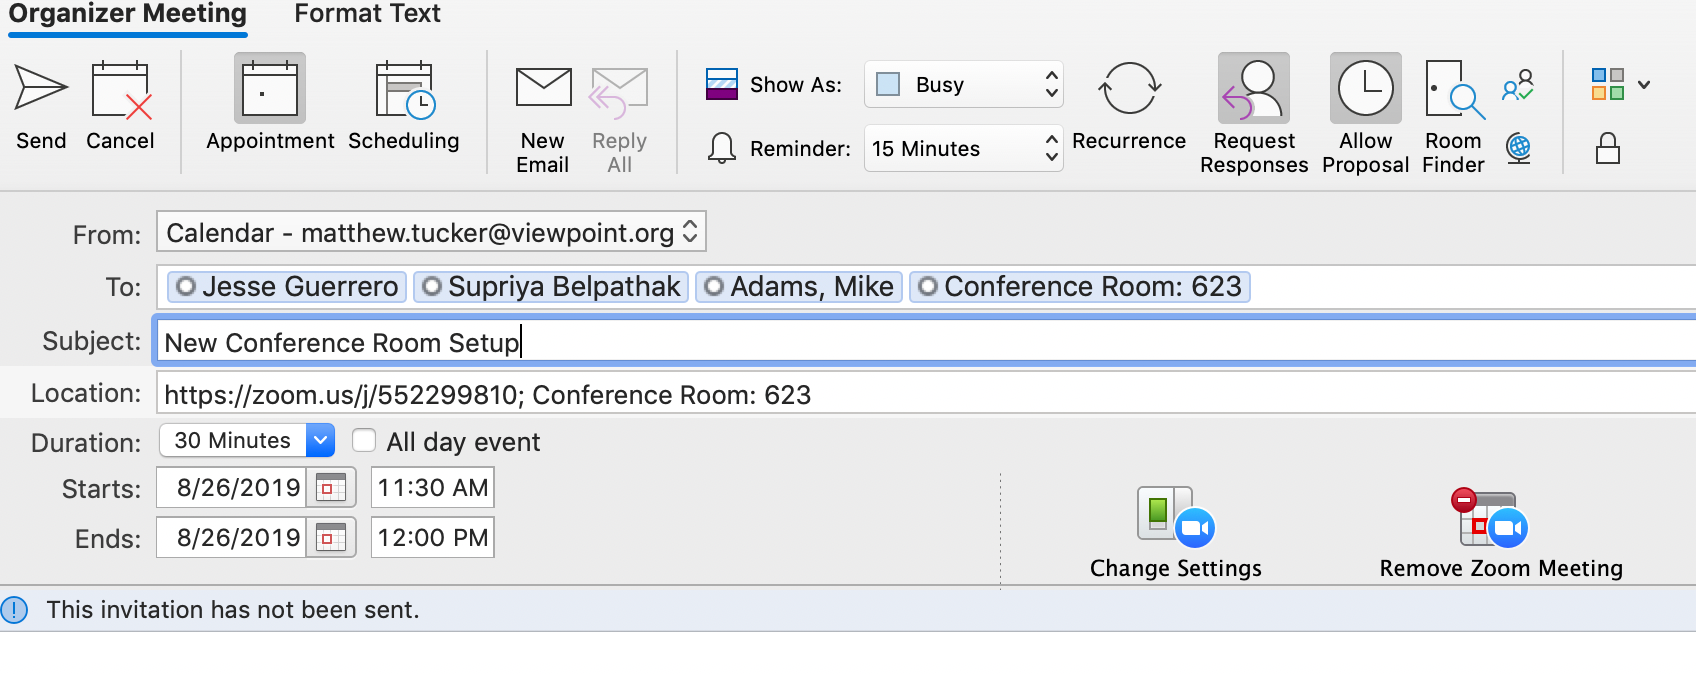
By default, all meeting requests/appointments are automatically "accepted" by the room resource. As long as there are no conflicts, anyone may book the resource. However we may implement some type of meeting approval process in the future should this become necessary.
Comments
0 comments
Article is closed for comments.